Jones2ByrneJones
Hour of Pessimism
- Jul 27, 2012
- 15,820
- 27,995
- AFL Club
- Port Adelaide
I'm Still In the Process of Making This Tutorial please dont post yet until this message disappears
Howdy
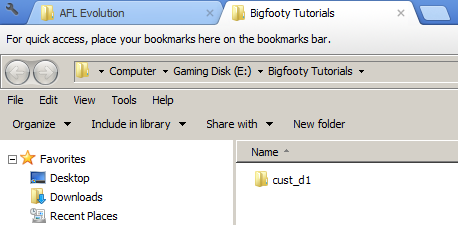
Have you ever been sitting around on a Sunday morning and/or afternoon hoping you could read Not Again's guide to creating guernseys for the PC edition of AFL Evolution? Well, you've come to the right place because this thread is gonna be the guide to creating guernseys for the PC edition of AFL Evolution.
Alright everyone, listen up! Here we go! Blast off!
Contents
Essential Materials
Non-Essential Recommendations
Howdy
Have you ever been sitting around on a Sunday morning and/or afternoon hoping you could read Not Again's guide to creating guernseys for the PC edition of AFL Evolution? Well, you've come to the right place because this thread is gonna be the guide to creating guernseys for the PC edition of AFL Evolution.
Alright everyone, listen up! Here we go! Blast off!
Contents
- Introduction
- Contents
- Essential Materials
- Non-Essential Recommendations
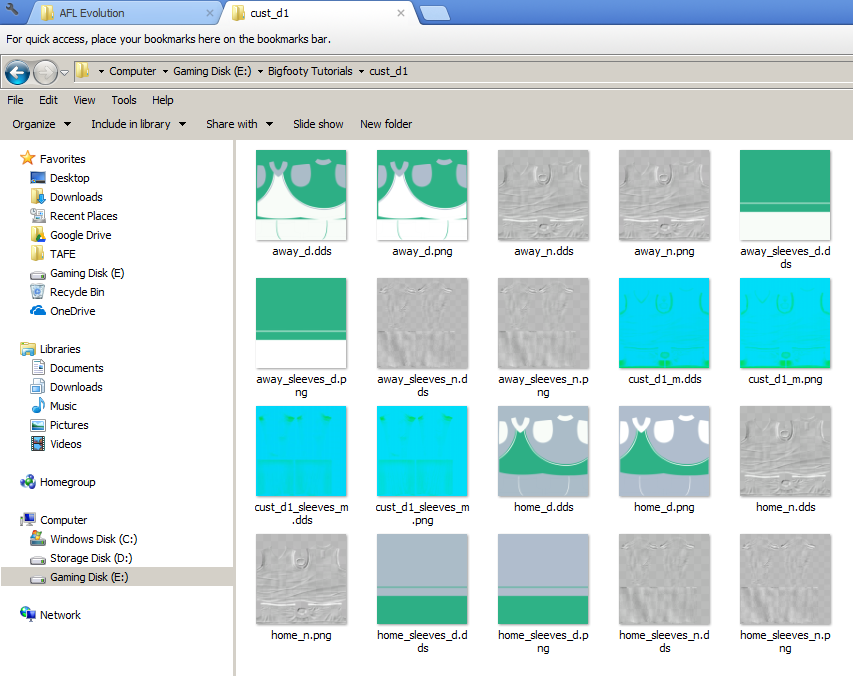
- Step 1: Extracting Files from AFL Evolution
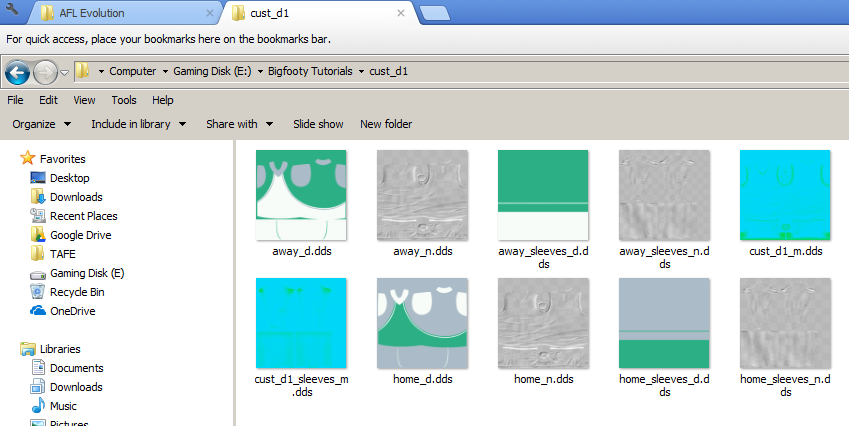
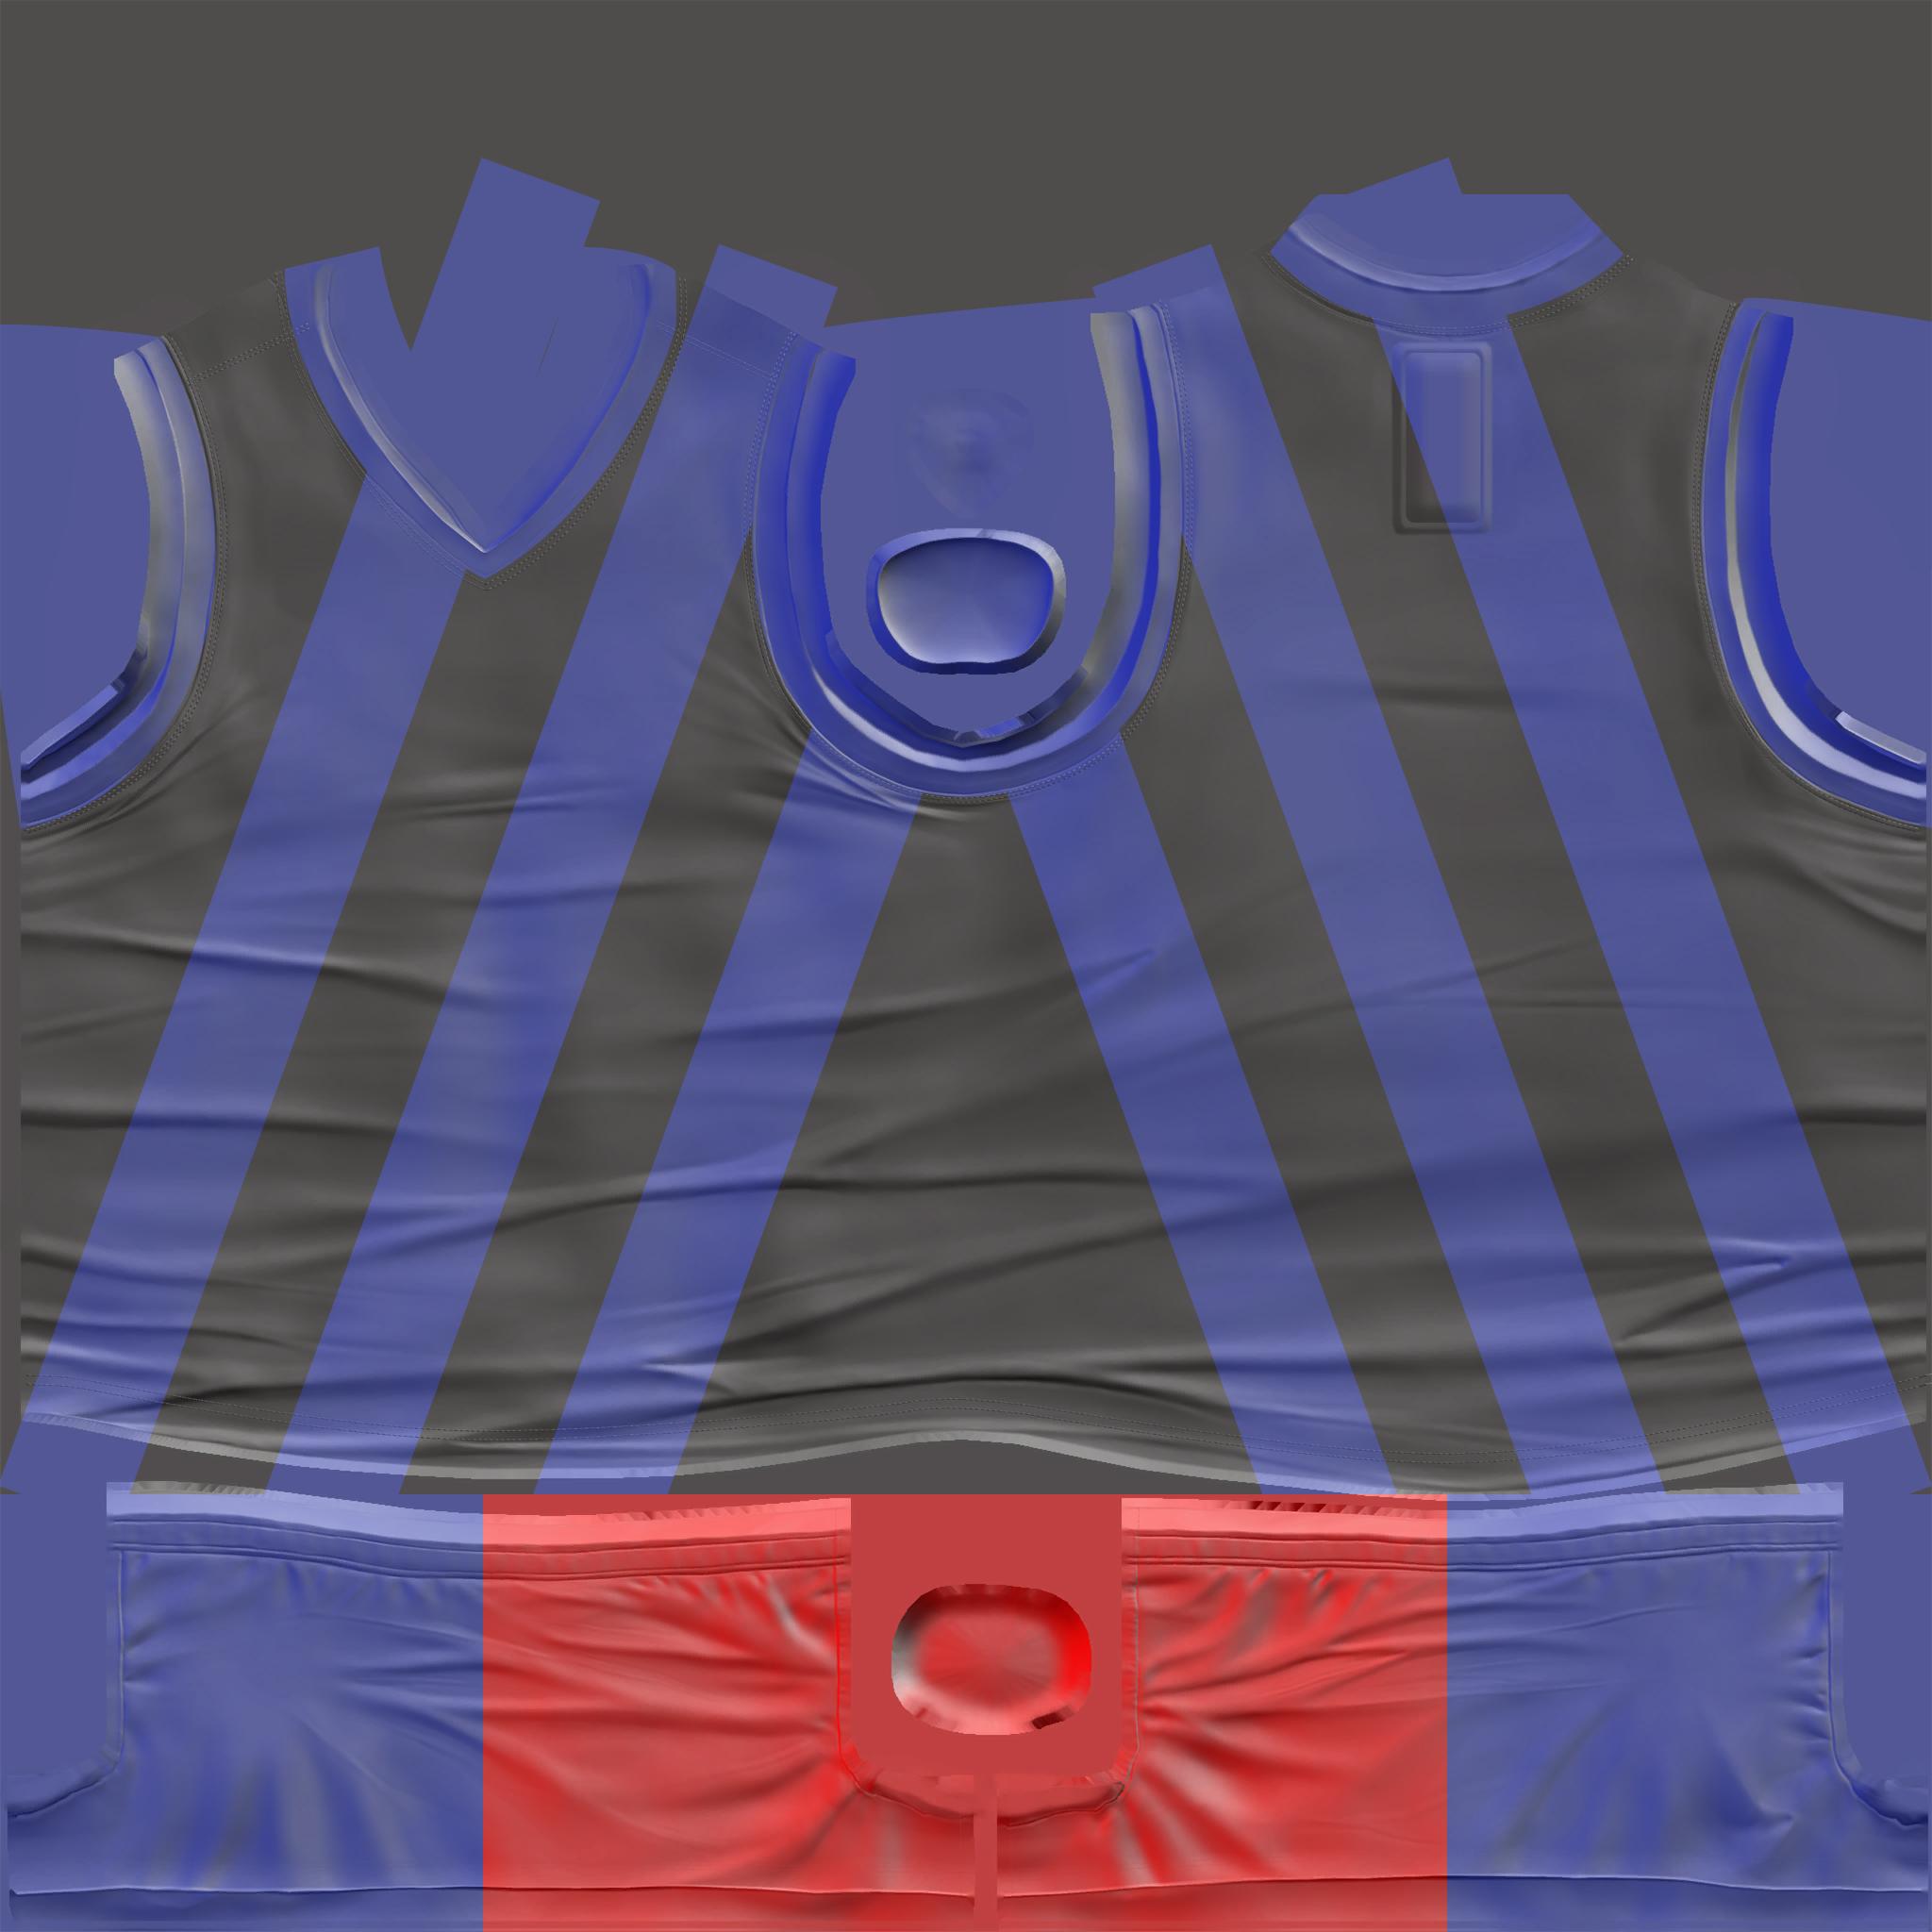
- Step 2 Understanding What You're Looking At
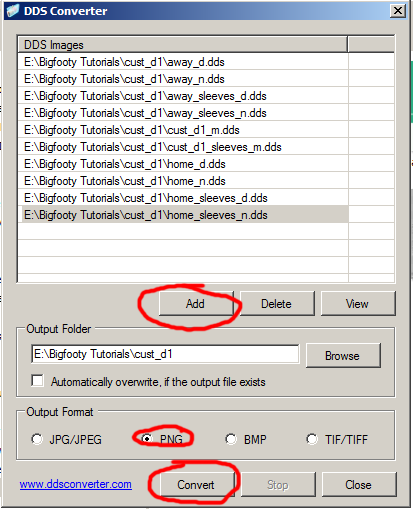
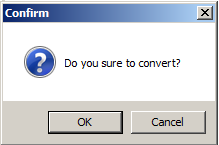
- Step 3: The conversion process
- Step 5:
Essential Materials
- PC edition of AFL Evolution
- You don't need the PC edition of AFL Evolution to make guernseys but it's needed if you want to see them in action.
- Adobe Photoshop
- Or any software that can handle layers. In theory you could attempt to use Paint (and it might work very well!) but I can't offer any advice.
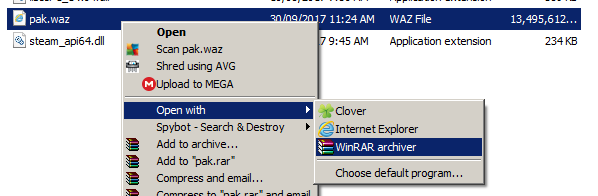
- Winrar
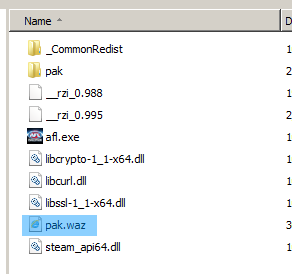
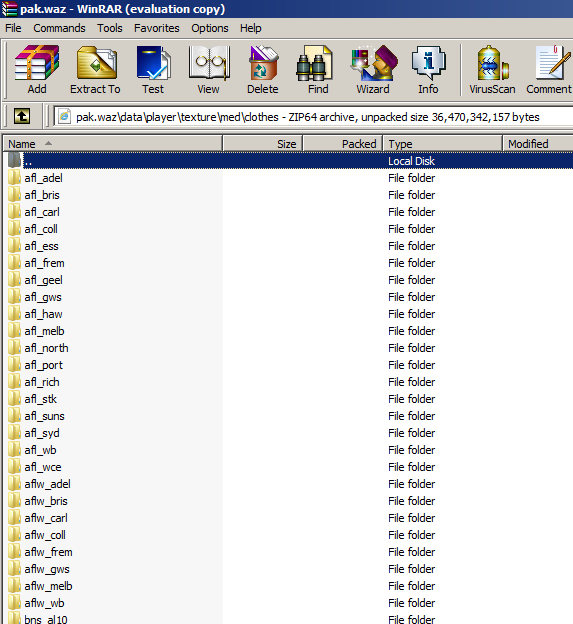
- Needed to navigate the games "pak.waz" file.
- A DDS to PNG converter
- AFL Evolution handles images using DirectDraw Surface (DDS)
- Photoshop can't handle DDS files so they need to be converted first.
- I use one called "DDS Converter". Direct download link: http://www.softsea.com/download/DDS-Converter.html
- A PNG to DDS converter
- You'll obviously need to convert them back into DDS because you'll need to implant them back into the game file.
- I use one called PNG to DDS converter. Indirect download link: http://www.easy2convert.com/png2dds/
Non-Essential Recommendations
- Clover
- Clover adds browser-like tabs to Windows Explorer. It makes navigation through various folders at once super simple.
- It's not an essential program but I recommend it in general anyway.
- Indirect download link: http://download.cnet.com/Clover/3000-2248_4-75732861.html
- SageThumbs
- Lets you view most image file types in Windows Explorer/Clover. This includes DDS and PSD and makes navigation (and confirmation that you have indeed converted your PNG back to DDS) easier.
- Indirect download link: https://sourceforge.net/projects/sagethumbs/?source=typ_redirect
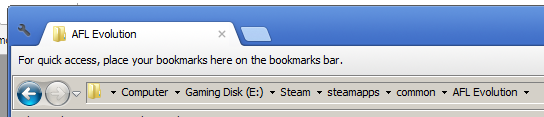
") /Steam/Steamapps/Common/AFL Evolution.
/Steam/Steamapps/Common/AFL Evolution.